
Filmterics F20
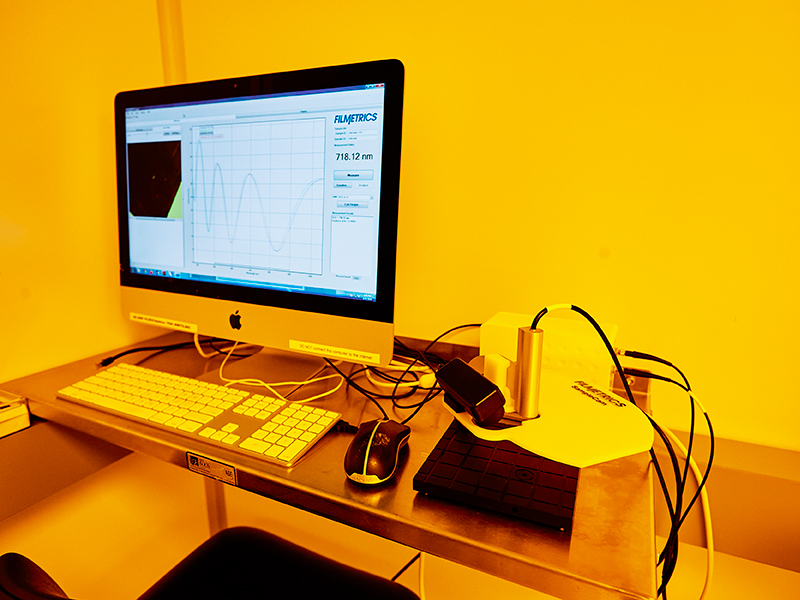
Description
Used for general-purpose film thickness measurements.
Operating Manual
Safety
- To avoid electrical shocks, do not use the system if it is missing panels and electrical equipment is exposed.
Allowed Materials and Processes
Max substrate size: 1mm to 300mm+ in diameter
Substrates must be clean and dry
Restricted Materials and Processes
Do not place wet/dirty substrates onthe F20.
- Turn on/wake up this computer and login.
- Computer sometimes is slow to turn on/wake up
- Username and password posted near the bottom of the screen
- Check that the tool is on and thebuilt-inlight source is on
- If you plan on measuring very thin films of less than 50-100nm turn on the deuterium lamp behind the tool
- If just using thebuilt-inlight source, let machine sit for 10 min, if using deuterium lamp, let machine sit for 30 min
- Open upFilmetricssoftware on the desktop of the computer if not already opened
- Select a recipe to use by selecting the small arrow button on the left side of the
screen or edit a recipe by clicking the “Edit Recipe” button
- Do not edit anything in the MMF Recipes except for the expected thickness
- Feel free to save as anyMMF recipe with a new name in a new folder
- Take a baseline by pressing the “Baseline” button and follow the instructions.
- First it will ask for a spectrum sample. Place your substrate underneath the light and click “Take Sample Reflectance”.
- Next it will ask for a reflectance standard. To your left in a clear plastic box are various reflectance materials. Select the reflectance material based on your substrate and place the reflectance material underneath the light, making sure the notches in the reflectance material fall in-line with the grid of the base. Make sure the reference material selected onscreen is the same as the reference material you use. Once properly aligned, click “Take Reflectance Standard”.
- Next it will ask for a Background measurement. Remove the material standard and place it back in the clear plastic box.Make sure nothing is underneath the light and click“Take Background”.
- Place your wafer underneath the light source. Using the live camera feature, move around your wafer to place the translucent dot on the spot where you want to measure the thickness.
- Press “Measure”and the results will come up.
- Check that the resultsare accurate byreferring to the “Goodness of fit” in the Measurement Results box below the “Edit Recipe” button.
- If you want to save your data, you can save wafer maps using standard Window commands.