A user operating the EvoVac evaporator

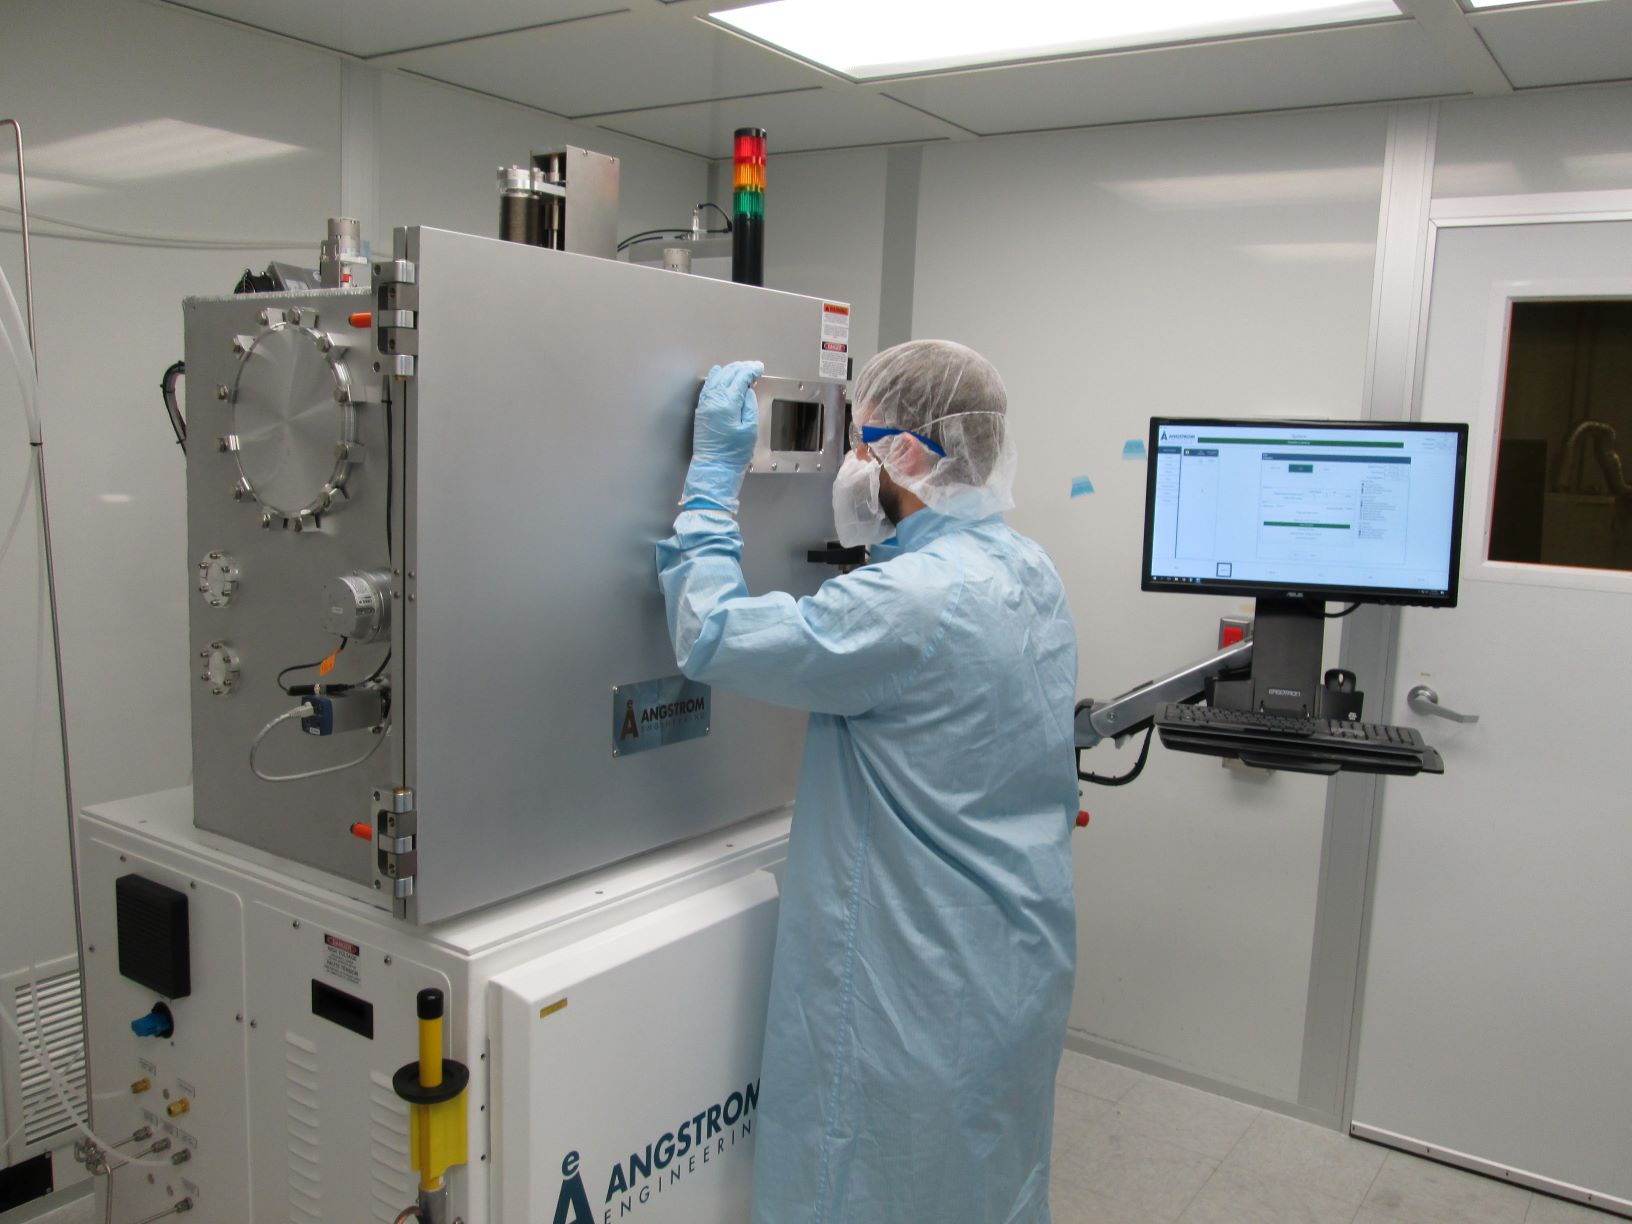
A user looking through the EvoVac sight glass.

Description

The EvoVac Evaporator is a highly versatile R&D deposition tool. It has a four pocket, 25 cc electron beam source, a thermal source, and a stage capable of reaching 500 C. In addition, it has a KRI ion source for ion beam assisted depositions, three process gases in two MFCs for reactive depositions, and a variable angle deposition stage for glancing angle depositions. The deposition software is capable of creating recipes to do any or all of the advanced functions during any deposition.


Processes

Aluminum Thin Film (Evaporation)

  • Aluminum thin films can be deposited via electron beam evaporation using a infiltrated carbon crucible liner in the Angstrom Amod Evaporator.
    Deposition rates of up to 30A/s can be achieved.

Silicon Thin Film (Evaporation)

  • Silicon Dioxide thin films can be deposited via electron beam evaporation in the Angstrom Amod Evaporator.

Ion beam assisted deposition

Glancing angle deposition

Operating Manual

*Note that the instructions below may not contain the most recent updates. Please refer to the manuals printed and posted at the equipment.

Safety 

  • This tool contains high voltage sourcesand there are trip hazards behind the tool.Do not go behind the tool, attempt to open covers, or work inside the tool. 
  • Use cautionwhenusing the step ladder to load your wafers. 
  • Do notpinch your fingersin thechamberdooror with the load lock lid. 
  • Do notbump your head when the door is open. 
  • The inside of the toolcan get very hot,particularly the ion source and thecrucibles.Thesubstrate temperature reading is not accurate, sotest the substrate holder before picking it up. 
  • Shutters in the tool can snap shut. 
  • Do not abrasively scrub thesample holder.It is made of molybdenum. 
  • If you open the chamber and it is flaking badly (i.e. small aerosols, not big flakes),close the door, leave and inform staff. 

Allowed Materials and Processes 

  • Aluminum,aluminum oxide, silicon dioxide, titanium, titanium nitride,and titanium oxide.
  • To add new materials to this list, please email andrew.lingley@montana.edu 

Restricted Materials and Processes 

  • Do not attempt to make your own recipes without extensive training andexplicitpermission from the lab manager. 
  • Never change thesamplestage. 

Important Equipment Notes 

  • Do not run “Transfer from Dep” when the substrate holder is in the load lock or “Transfer to Dep” when the substrate holder is in the deposition chamber. Either of these operations will damage to the tool. 
  • Always hit “Load Recipe” after selecting a recipe from the dropdown or browse menus and verify that the recipe loaded correctly by looking at the “Recipe” cell on the upper left of the “Process” screen. 
  • Do notbump or run into the plumbing to the left of the tool. 
  • Do not bump or turn the black knobs on the AngstromEVA power supplies. 
  • Except for the Chamber Light, donotoperatethe overrides in the System menu.Do notoperate the servos manually. 

1. Check reservations and make one: https://www.montana.edu/cpa/apps/mmf_tools/ 

2. Check tool status, visit http://www.mmf.montana.edu/equipment-status.html 

3. Checkthelab status

  1. Check N2bottle pressure.If it is below 500 PSI, inform staff, but continue operation as normal. If it is below 200 PSI, inform staff and waitfor staff to change the N2bottle. 
  2. Check thattheN2is on for lab. 

4. Checktheequipment status 

  1. Click the “System” buttonandthen click the “Vacuum System”tab on the left.Then click on “Dep Chamber.” 
  2. CheckDep Pressure in the upper right of the screen.If it is above8e-7Torr,inform staff andleave a note on the toolmarkingit asinoperable. 
  3. Check that thecryotemperatureis below 18K. 
  4. Checkthatthe chillerpressure is 50±10PSIby pressing the down arrowon the chilleronce.If it is not, report to staff and leave a note on the tool that it is inoperable. 
  5. Checktheload lock pressure.If itis atatmospheric pressure, inform staff but continue as normal. 
  6. Check that theTelemark Digital Sweep (instrument with thekangrooon it) reads Remote Off. 

5. Checkthetool configuration 

  1. Click “Main” and then click “Load Materials”. Check if the materials that you need to deposit are loaded. 
  2. Verify that the gas you need for the ion source is selected with the two-way valve on the wall to the left of the tool. If you need the other gas, work with staff. 
  3. Click System, Pressure Control, and verify that the Current Gas in MFC 2 Ion Sourceis the correct gas for your process.If you need a different gas, work with staff. 

6. Load materials (Optional) 

  1. Click System, Vacuum, and Dep Chamber.Verify that at least 5 minutes have passed since the last deposition and that the substrate has cooledbelow 50 C.Press Vent and Start.Waitaboutfiveminutes for the chamber to ventandopen the chamber door.When you open the door, all the sources will turn off and the air pressure to theshutters will bleed off.Thetool will also throw a faultthat cannot be cleared while the door is open. 
  2. Click Main and Load Materials to see what materials are currently in the pockets.Navigate to the pocket you want to change or refill by clicking on the pocket number and then hit “Move to Pocket”. 
  3. Physically rotate the source shutterbackwardand out of the way.Take out the material using tweezers and be very carefulthat the crucible is not still hot.Do not ding the hearth with the tweezers.  
  4. Vacuum out the tool and hearth carefully to make sure there are not any pieces of material that will prevent thecrucible liner from fitting snugly.Also vacuum out below the hearth to make sure there aren’t any flakes that will short the filament. 
  5. Refill or change the material and reload the crucible into the hearth. Do not overfill the crucible;except forSiO2, crucibles should never be more than ¾ full.Make sure the crucible is entirely in thepocket and sitting flat. 
  6. UpdatetheLoad Materials section.If you are not changing the material type, reset the Accumulated Power. If you are changing materials, you will be prompted to reset the Accumulated Powerafter you select a new material. 
  7. Wipe the sealing surfaces with a dry wipeandclose the door.ClickMain and Process,and thenselectDeactivate next to Bias Mode Activation. This will clear the fault. 
  8. Pumpdownthe Dep Chamber.Click System, VacuumSystem, Dep Chamber, Pump Down, and Start.Wait for the system to reach base pressure. This takes about 2 hours. 

7. Load samples 

  1. Prepare samples. Load yoursample onto the substrateholder.You canaffixyour samplesusing screws,clips,or with vacuum-rated Kapton tape. 
  2. Click System,Vacuum System, andLoad Lock. Click Vent and then Start. 
  3. Open the load lock lid and load the sample holder into the load lock. Make sure the open end of the “C” is facing into the chamber and that the notchon the holder is properly aligned. 
  4. Closethe load lock lid. 
  5. From the “Load Lock” screen, select Pump Down and then Start.Wait for the load lock to reach base pressure,2e-5 Torr. This should takeabout 15 minutes. 
  6. Click Main” and then Process. On the lower right of the screen, select from the dropdown menu Transfer to Dep” and then Load Recipe. Verify in the upper left next to Recipe that Transfer to Dep” is listed. During a Transfer to Dep process, the VAD stage should tilt counterclockwise immediately. If it does not, stop the process. 
  7. Click Start. Watch the wafer as it is loaded into the deposition chamber and be ready to hit the big red Stop button if something does not look right. 

8. Deposit 

  1. From the“Load” dropdown menu, select “Browse…”,navigatetothe desired folder,and select your recipe. Click “Load Recipe.”Verify that the recipe loaded. 
  2. Verify that your wafer loaded properly. Depositing without the sample holder in place can get on the substrate heaters. 
  3. Checkrecipe.Edit the "Thickness(A)” and “Timeout (s)” inthe recipeafter it has loadedif you need a different thickness than the saved value.Verify that the recipe loaded correctly and that the process steps have not been edited. A good practice is to have a hard copy of the recipe parameters saved for your process. 
  4. Press “Start” and monitor thedeposition. Always watchthe ion beam start up and look for abnormalities, such asthe plasma not striking, flickering, or going out. Watch the e-beam while the power ramps up, make sure the beam is centered, andverifythat the correct material is in place. Periodically check the tool during long depositions to makesure that there have not been anyfaultsand that the output power is stable. Verify that the stage rotationand tilt are as expected for your recipe. 
  5. Ensurethe Recipe’s component section, then source’s sweep select is the correct pattern number. 
  6. Check that the touchscreen on the TELEMARK Digital Sweep display says “remote off.” 

9. Remove samples 

  1. Make surethe“Substrate Temperature”in the upper rightof the Process windowreadsbelow 50 C.  
  2. In the “Process” window, select “Transfer from Dep” from the dropdown menu and then click “Load Recipe.” Verify that “Transfer from Dep” is listed beside “Recipe” in the upper left side of the screen. 
  3. Press “Start.”Watch the sample unload and be prepared to hit “Stop” if anything seems awry. 
  4. Under “System,” “Vacuum System,” and “Load Lock,”verify that “Sources OK to Vent” is green, and then click “Vent” and “Start.” 
  5. Unload the sample holder, close the lid,and pump the load lock. 

Troubleshooting 

  • Chamber will not vent. 
    • Ensure lab N2 is on. 
    • Ensure lab N2 bottle hasenoughpressure. 
  • Recipe error. 
    • Clear the error by hitting acknowledge, then run the recipe again. 
  • Pump down will start. 
    • Make sure to select. 
  • Failed to reach final thickness error. 
    • Make sure to update“Timeout(s)”ifyou edit the final thickness. 
  • Light will not turn on 
    • ClickSystem, Overrides, and Dep Chamber. Verify that the Chamber Light is set to Auto. 
  • During load lock pumpdown, “TheTurbo Pump SpeedhasDropped Unexpectedly" 
    • Clear the error and try pumping down the chamber again. This is mostly likely due to the chamber not beingfully vented at when starting the pump cycle. If it fails twice, put a note on the tool marking it as inoperable and email staff.